Before practicing, learn the shortcuts and check basic settings.
Dual-device link is available to Pro and Ultimate users. Trial is not supported. The desktop client can generate a QR code. After scanning it on mobile, you can view interview answers and screenshot-solving answers, and trigger recording, screenshots, solving, and Q&A from the phone. Complex networks may require reconnecting by QR code.
Connect and use the phone controls
INTERACTIVE WALKTHROUGH
Try it: pair your phone and read answers
Click the numbered markers to see what happens next in the client, or use the tutorial controls below.
Click the phone icon on the desktop toolbar
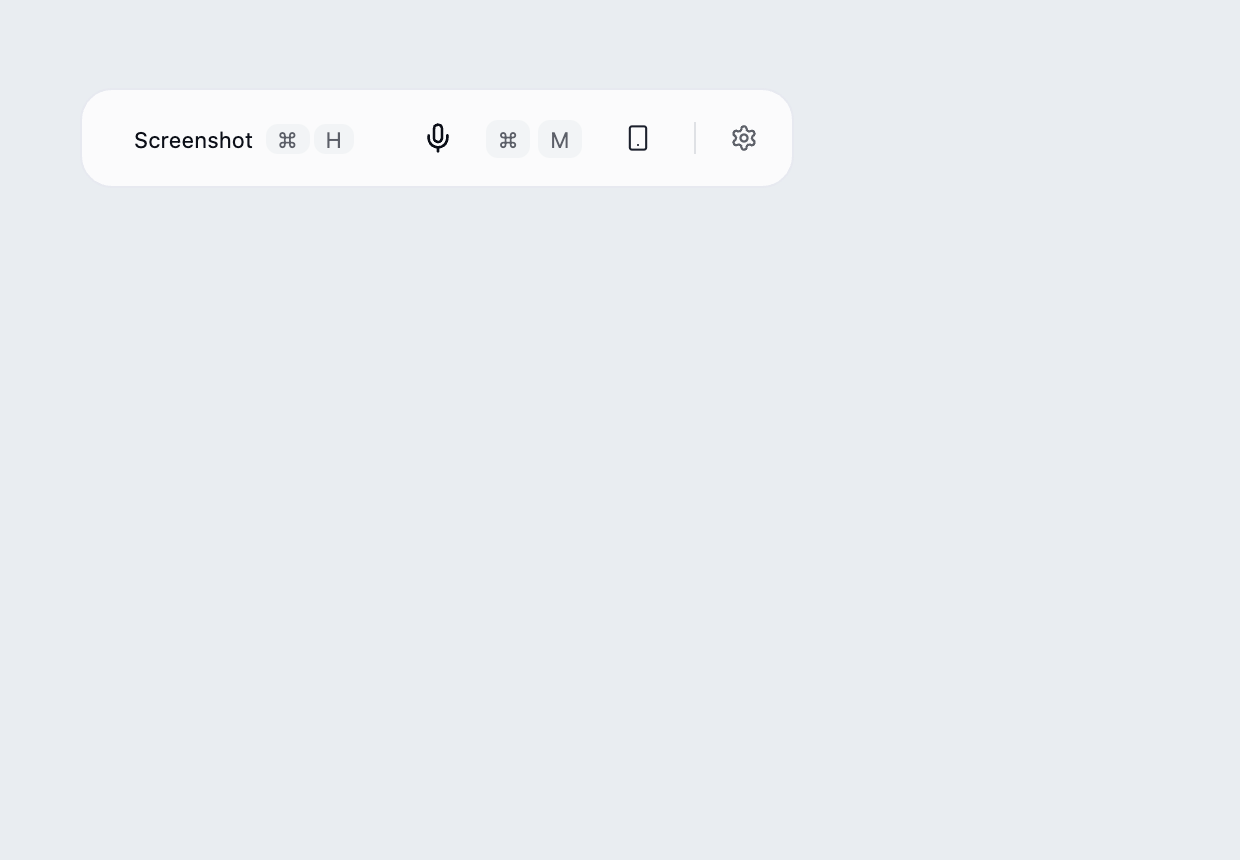
In the signed-in desktop client, click the phone icon between the microphone and settings gear.
What you should see: The dual-device panel opens with Not started status.
Pro or Ultimate is required; Trial is unsupported. Keep the desktop client online.
Show all illustrated steps
1. Click the phone icon on the desktop toolbar
In the signed-in desktop client, click the phone icon between the microphone and settings gear.
The dual-device panel opens with Not started status.
Pro or Ultimate is required; Trial is unsupported. Keep the desktop client online.
2. Click Generate in the panel
Click Generate and wait for the QR code to appear.
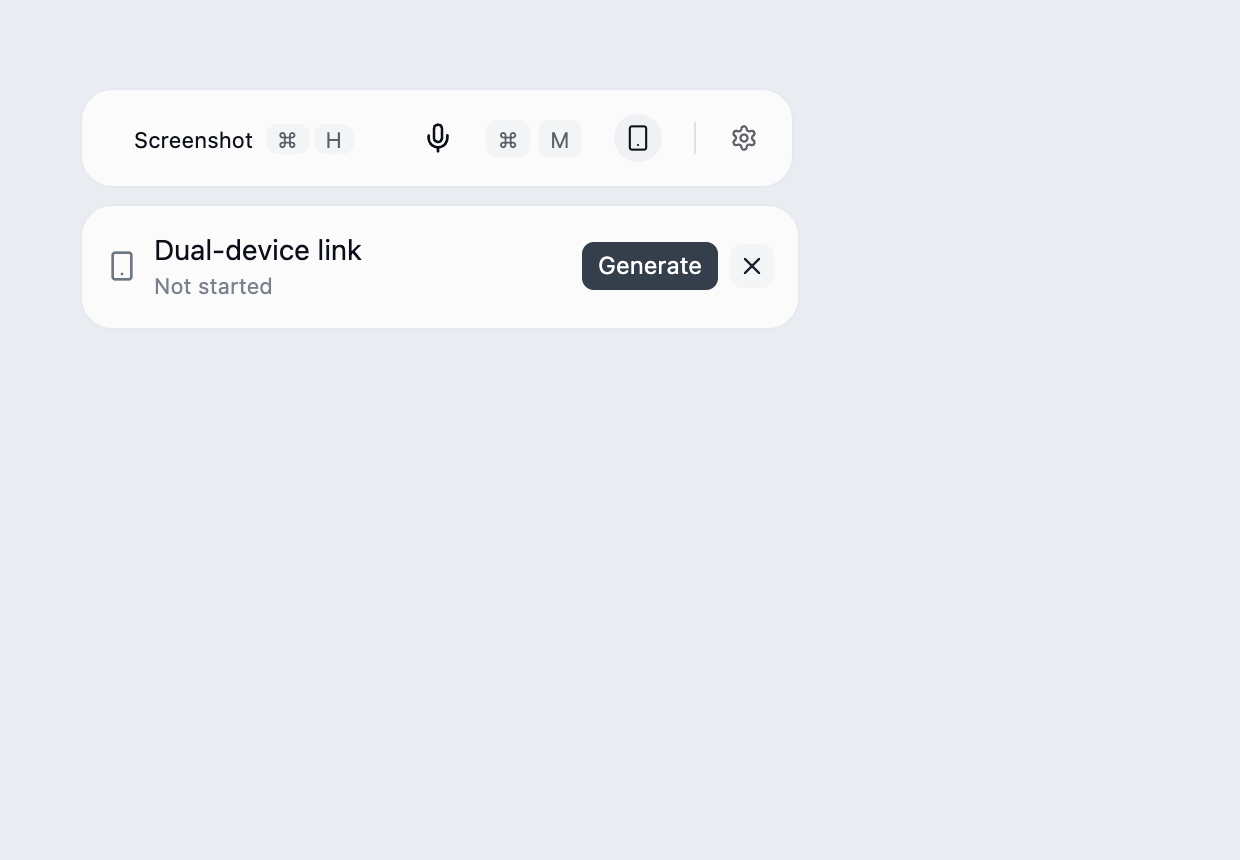
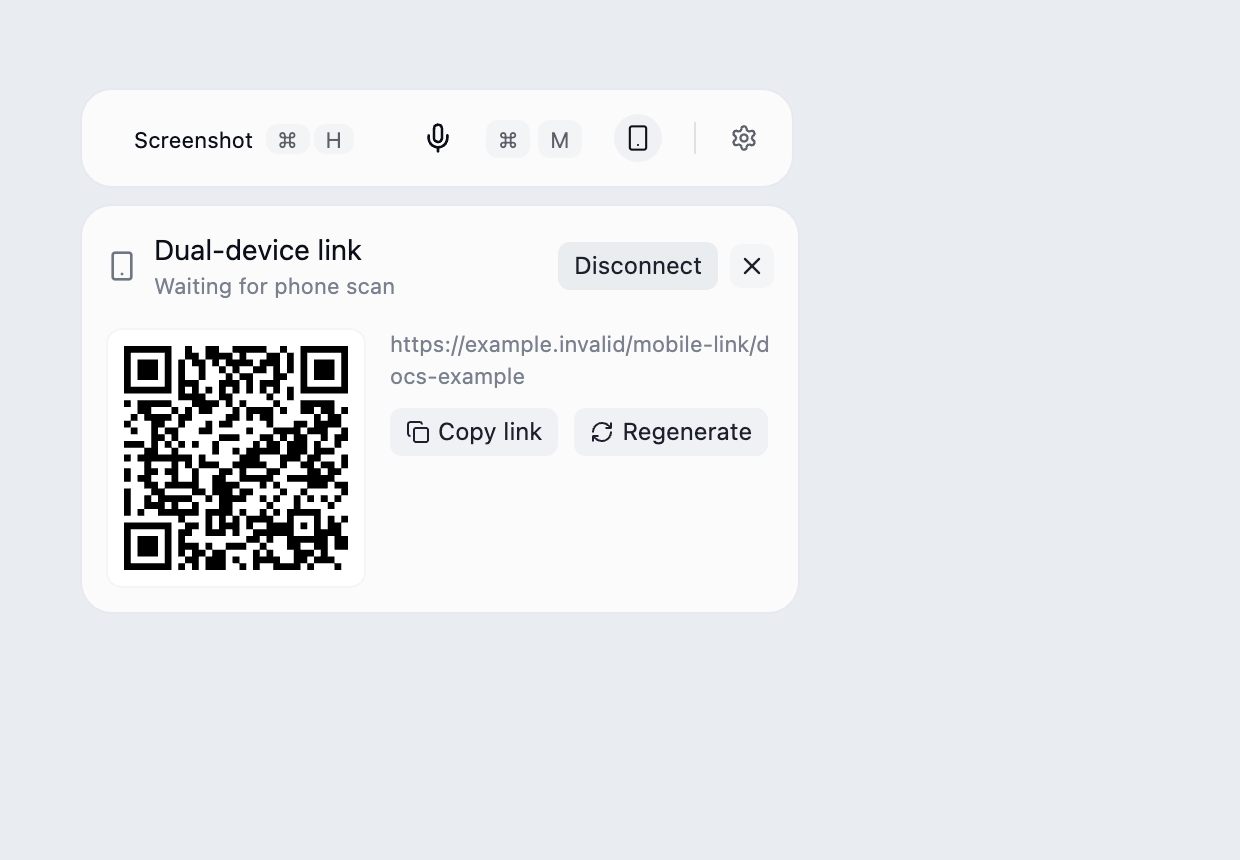
A QR code and link appear, with Waiting for phone scan status.
Generation needs a network. The QR code in this tutorial is an invalid example; scan your own client's code for a real connection.
3. Scan with your phone and open the link
Scan your desktop client's QR code and open the resulting page. Alternatively, use Copy link on the desktop and open your own link in the phone browser.
The phone opens the dual-device page and waits for connection.
Seeing a QR code or an open phone page alone does not confirm connection.
4. Confirm Device connected on the desktop
Wait for the desktop status to change to Device connected before using phone controls.
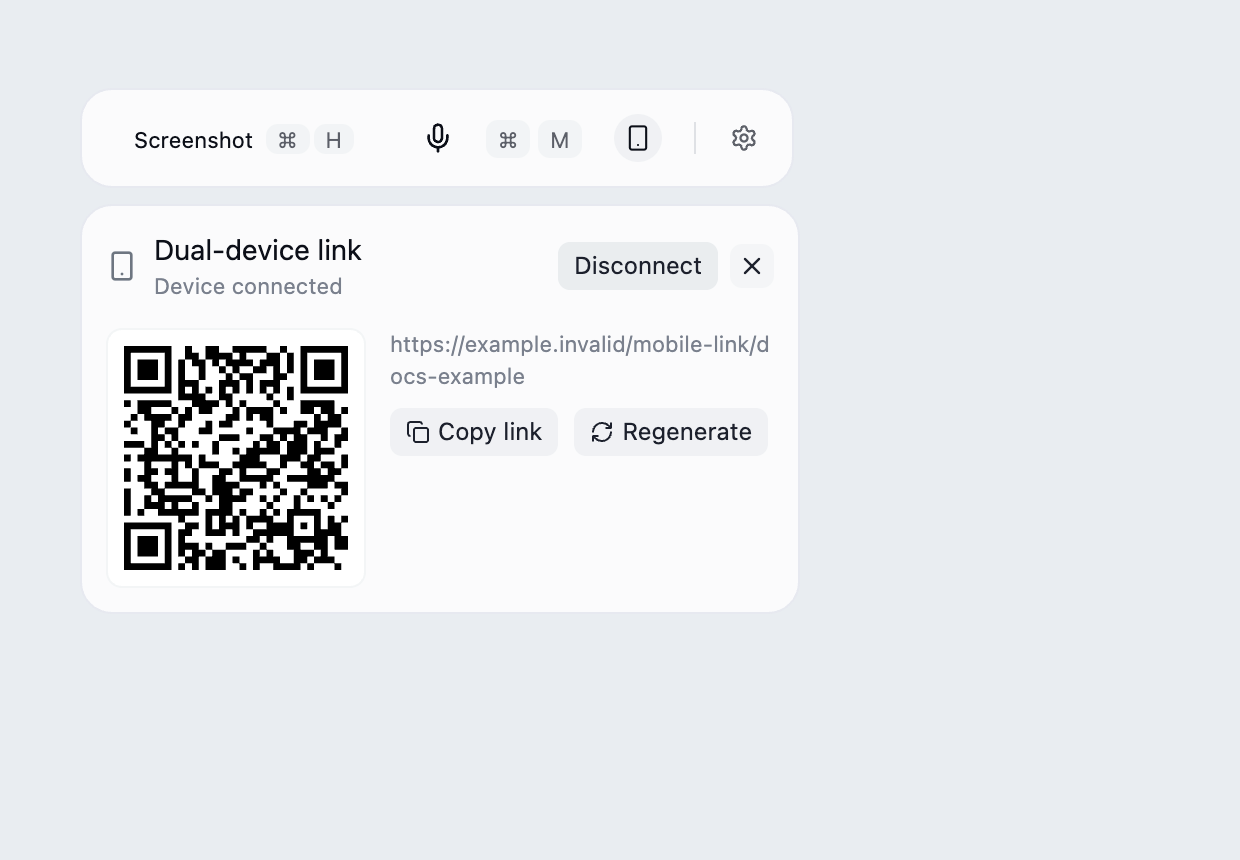
Phone controls become available for desktop recording, captures and answer generation.
Check both networks if connection stalls. Regenerate and scan again if needed. The following phone UI is currently Chinese and uses fixed demo connection data.
5. Tap 录音 at the bottom of the phone page
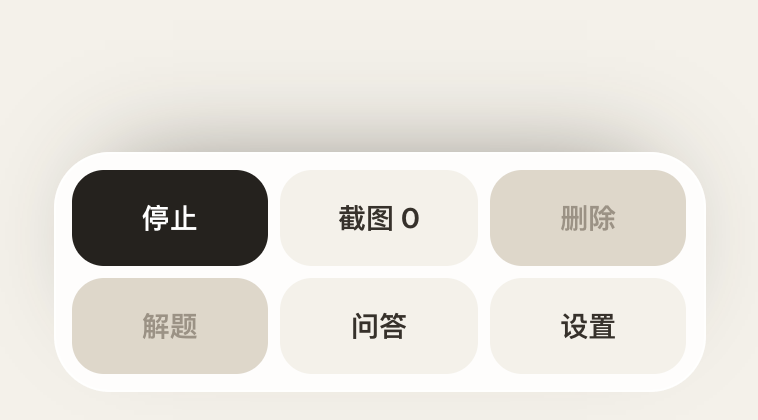
Tap the phone's 录音 (Record) button. It starts desktop recording, so configure audio sources and permissions on the computer first.
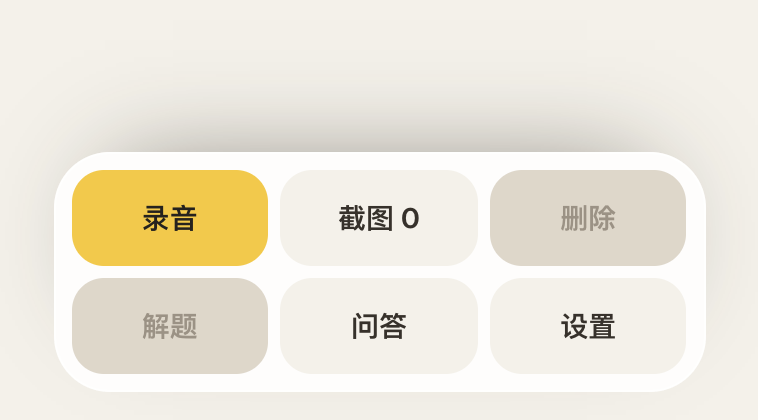
After the desktop state arrives, the button changes to 停止 (Stop).
This controls recording on your computer. The phone does not need to capture the conversation through its own microphone.
6. Once the question is transcribed, tap 问答
Check that the desktop has transcribed the complete question. With transcript sync enabled, you can also inspect it on the phone. Tap 问答 to trigger an interview answer.
The desktop generates an answer and streams it to the phone answer area.
For screenshot questions, tap 截图 first, wait for the count to increase, then tap 解题. 问答 is for interview answers.
7. Read the answer and swipe to see more
Read the answer in the upper area of the phone page. Swipe within that area for longer answers. The newest answer appears first.
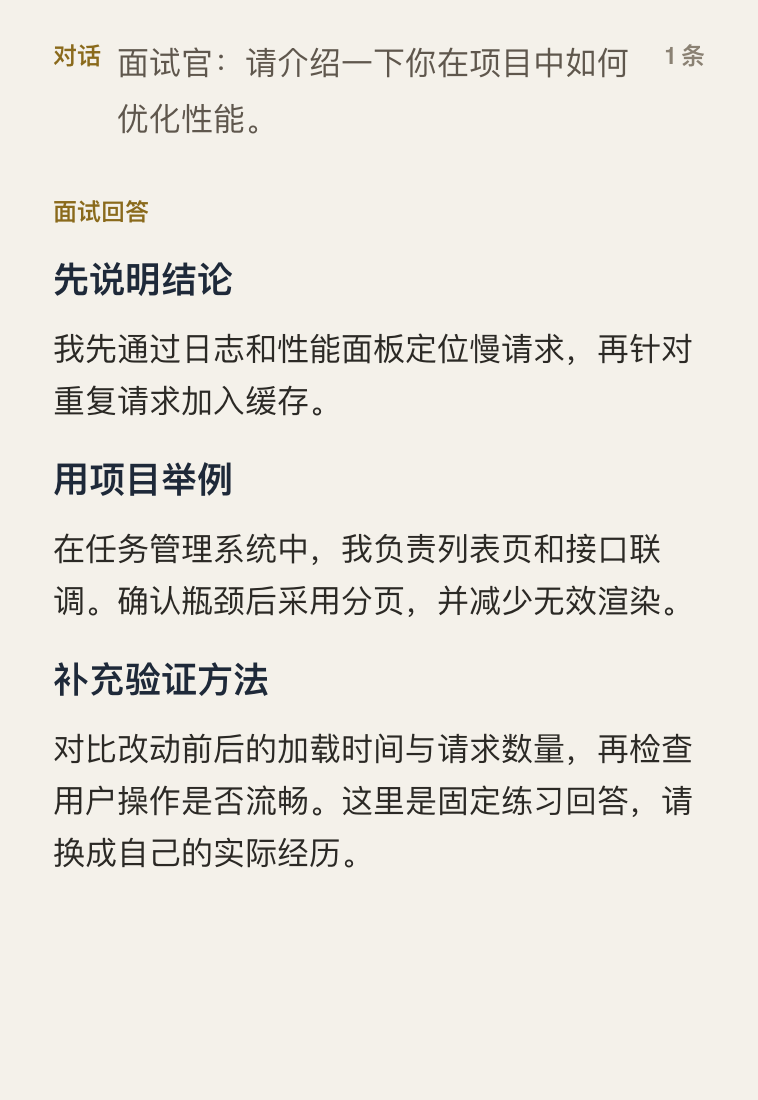
You can read the current answer and scroll to its later sections.
Swiping reads the same answer. Tapping 问答 again would trigger another generation. The displayed answer is a fixed Chinese practice example.
8. Click Disconnect in the desktop panel when finished
If recording is active, stop it on the phone or desktop first. Then click Disconnect in the desktop dual-device panel.
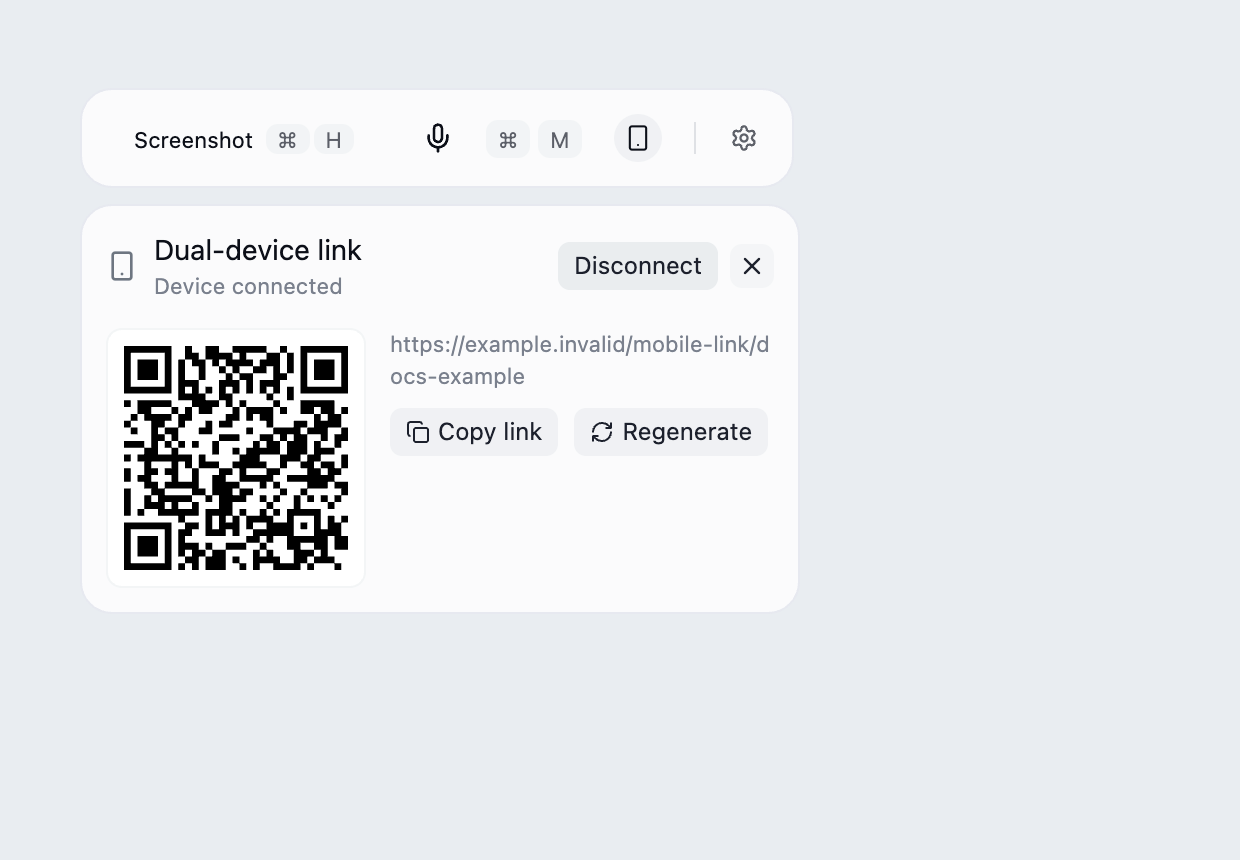
The QR code disappears and status returns to Not started.
Stopping recording and disconnecting the link are separate actions. The × button hides the panel; use Disconnect to explicitly end the connection.
9. Confirm Not started before leaving
Check that Not started and the Generate button are visible again. Generate a fresh code when you next need a connection.
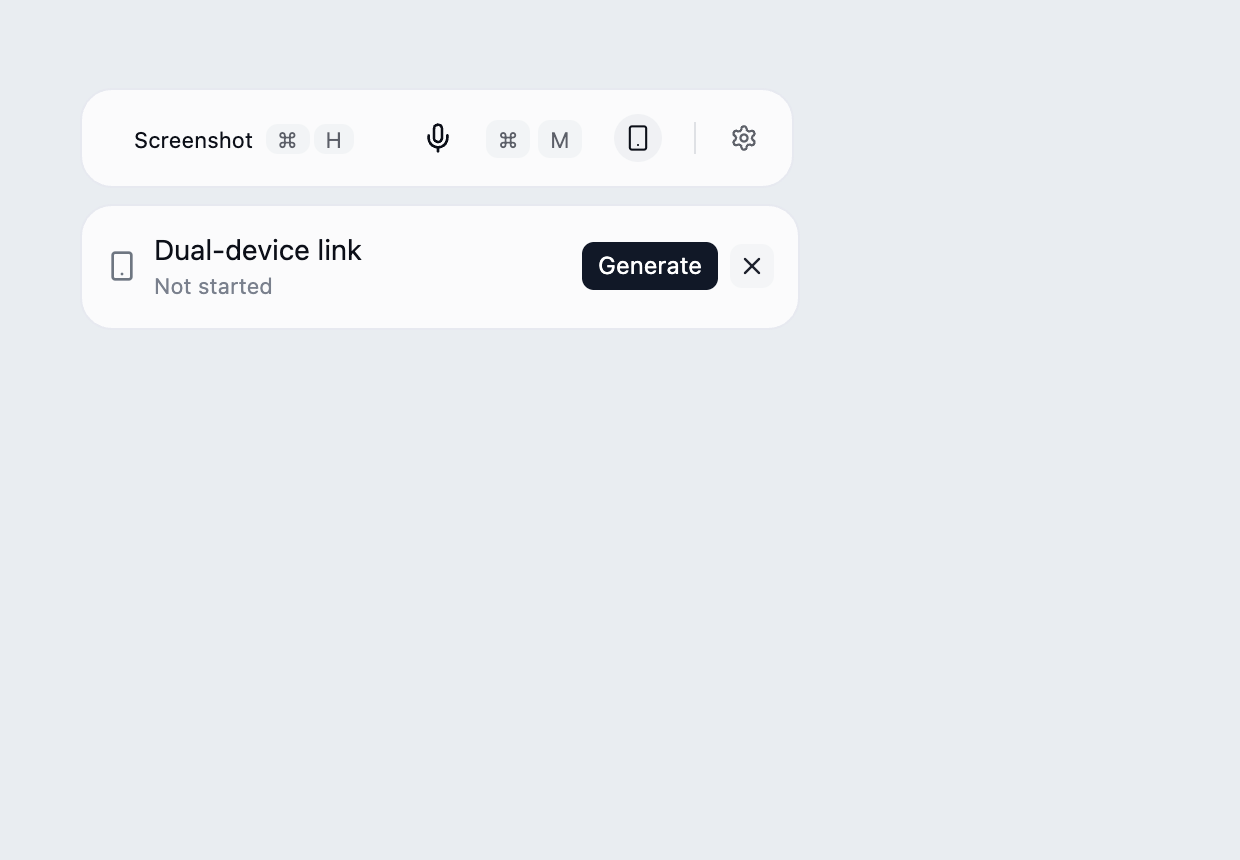
This dual-device connection has ended.
The demo verifies the interface sequence with isolated data, not a live cross-device network. Test your own phone and computer together before relying on the connection.
Link expiry and reconnecting
Scan the QR code within 5 minutes of generation. Each code pairs with one mobile page. Keep that page open; refreshing the same tab in normal browsing mode can reconnect.
The session renews while connected, so staying connected for more than an hour does not expire it. After a disconnection, it remains available for 1 hour after the last online renewal. Try refreshing the original mobile tab to reconnect. If you have been offline too long, switched phones, or cannot reconnect after reopening the page, generate a new QR code on the desktop.