Before practicing, learn the shortcuts and check basic settings.
Voice mode
Voice mode transcribes system audio and microphone input with automatic language detection. Available voice minutes depend on your plan. Complete permission and audio checks before the interview.
Voice settings
You can configure extra requirements, professional vocabulary, voice knowledge base, and more.
INTERACTIVE WALKTHROUGH
Try it: configure voice answers and hotwords
Click the numbered markers to see what happens next in the client, or use the tutorial controls below.
Click the gear on the toolbar
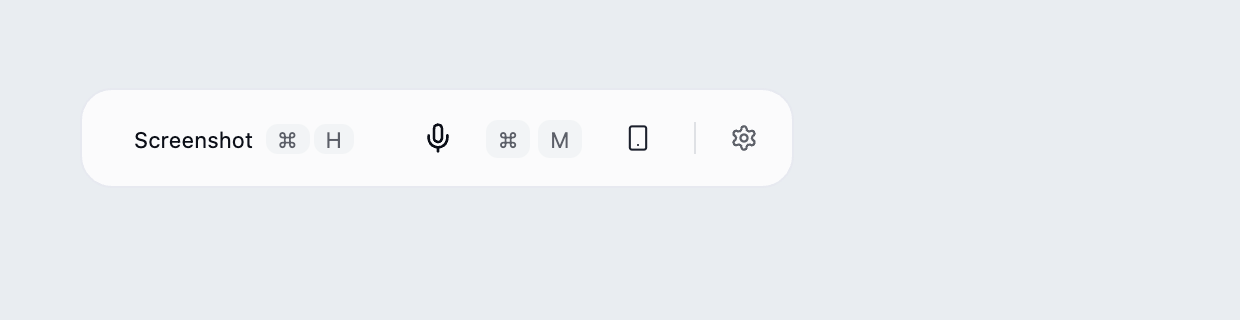
Find the desktop client's floating toolbar and click the gear at its right edge.
What you should see: The settings panel opens with languages, models, capture mode and links near the bottom.
These steps use fixed examples. Click the yellow image marker or use Next tutorial step below.
Show all illustrated steps
1. Click the gear on the toolbar
Find the desktop client's floating toolbar and click the gear at its right edge.
The settings panel opens with languages, models, capture mode and links near the bottom.
These steps use fixed examples. Click the yellow image marker or use Next tutorial step below.
2. Open Voice Settings near the bottom
Click Voice Settings at the bottom of the settings panel.
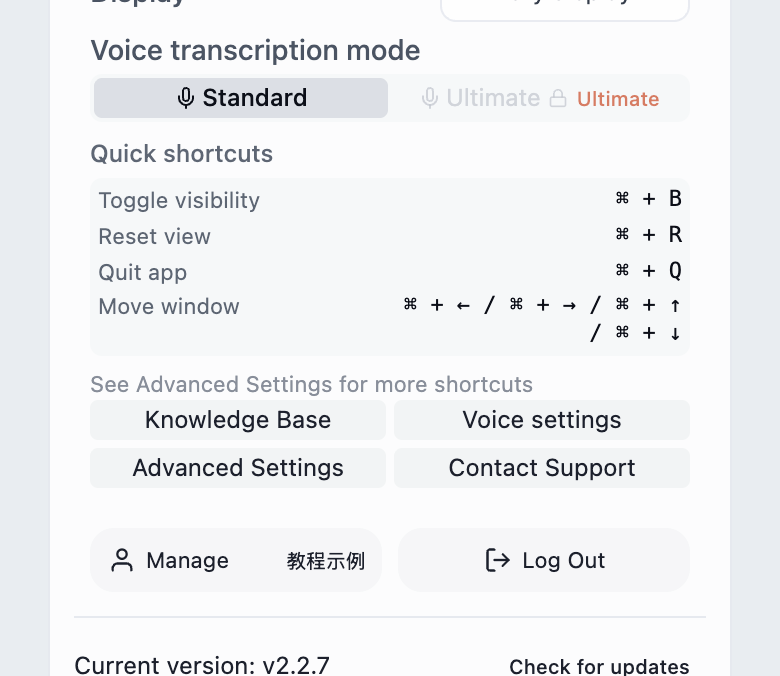
The voice window opens with additional requirements, hotwords, answer model and switches.
Screenshot solution requirements live separately in Advanced Settings.
3. Enter a specific instruction for voice answers
Click Additional Requirements and enter a short instruction, such as giving the conclusion first and then a project example.
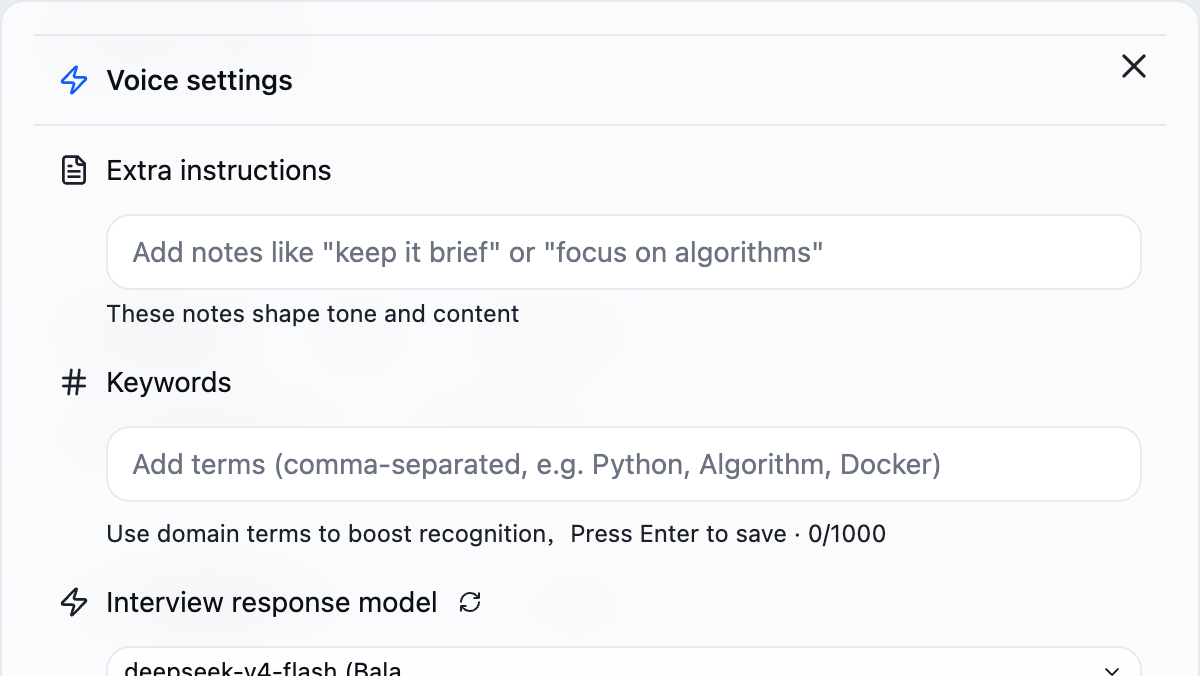
The text remains in the field and is saved automatically.
The sample instruction in the image is Chinese. No separate Save button is needed. Clear the field to remove the instruction.
4. Enter technical terms, then press Enter
Type Redis,Kubernetes in the hotword field, then press Enter. Commas or semicolons can separate multiple terms.
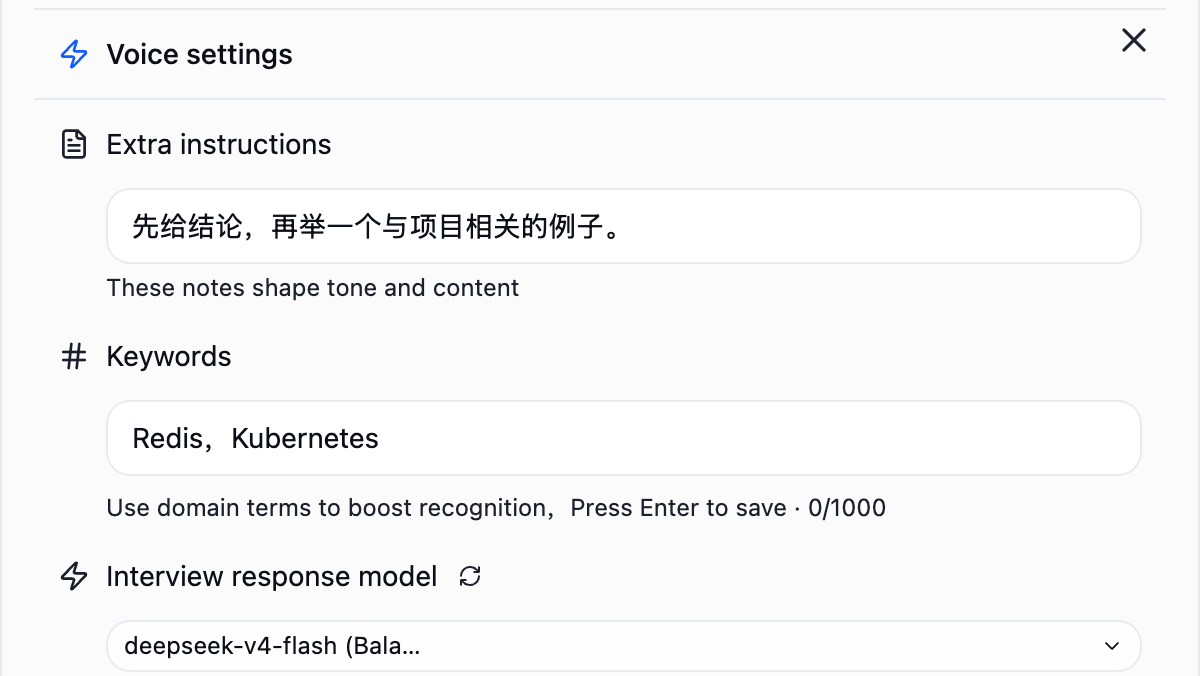
The input clears and Redis and Kubernetes appear as tags below it.
Text still sitting in the input has not been added. Use a tag's × to remove it. Check the counter for the current limit.
5. Enable Concise Mode if you want shorter answers
Scroll down and enable Concise Mode. Review the separate answer model, response language, Knowledge Base and display translation settings as needed.
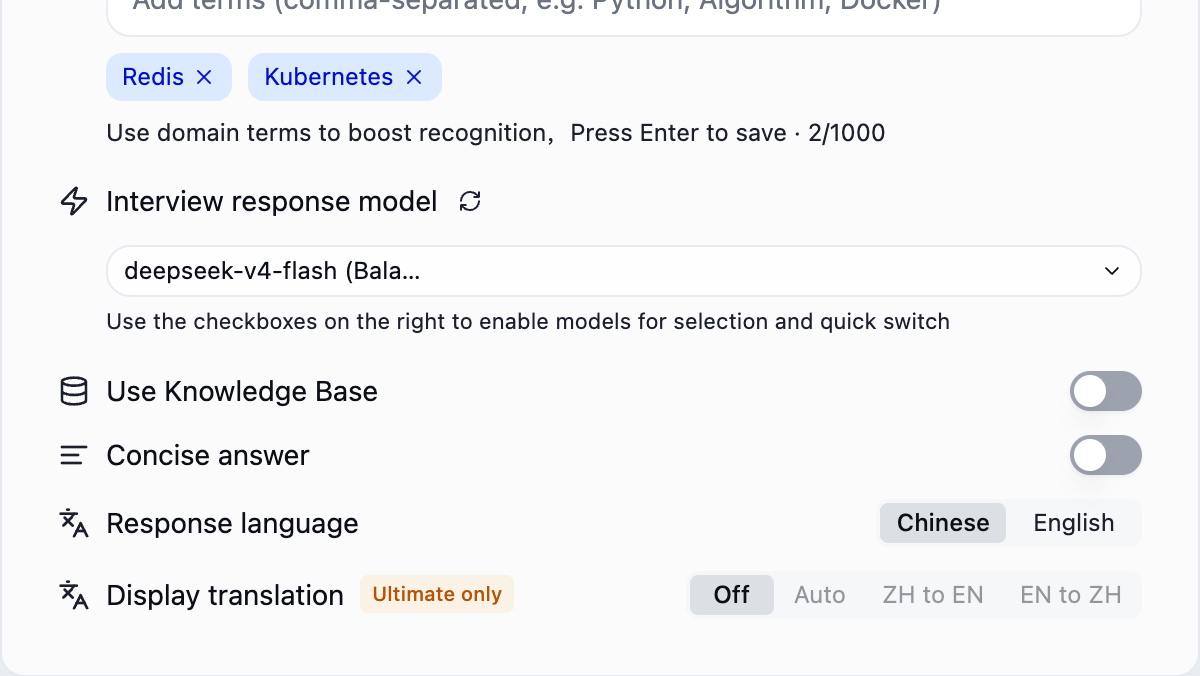
Concise Mode is on and your hotword tags remain saved.
Knowledge Base needs enabled documents. Display translation requires Ultimate and affects presentation; it does not replace response language.
6. Close Voice Settings, then reopen it
Click × at the top right, return to the settings panel, then click Voice Settings again.
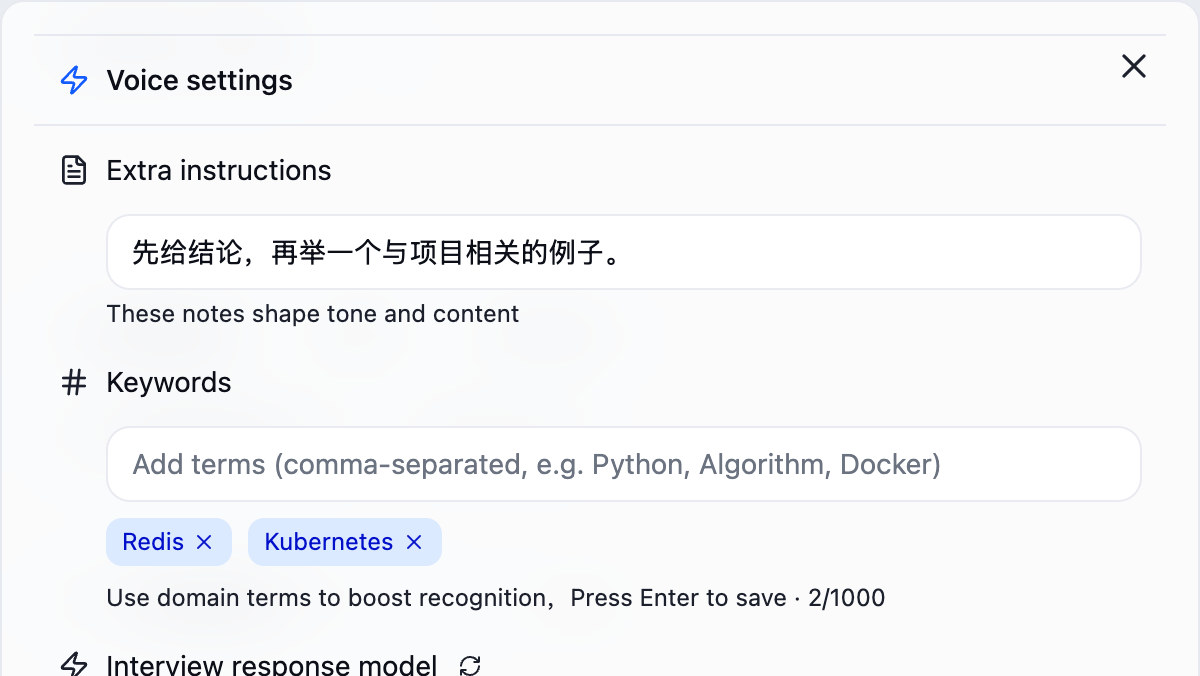
The requirements and hotword tags remain after reopening.
These voice fields save on change. Solution requirements in Advanced Settings use a separate Save action.
7. Test recognition and answer style separately
Check the saved instruction and tags, close the window, and start desktop recording. Say a short sentence containing the terms, check the transcript, then trigger an answer using the voice walkthrough.
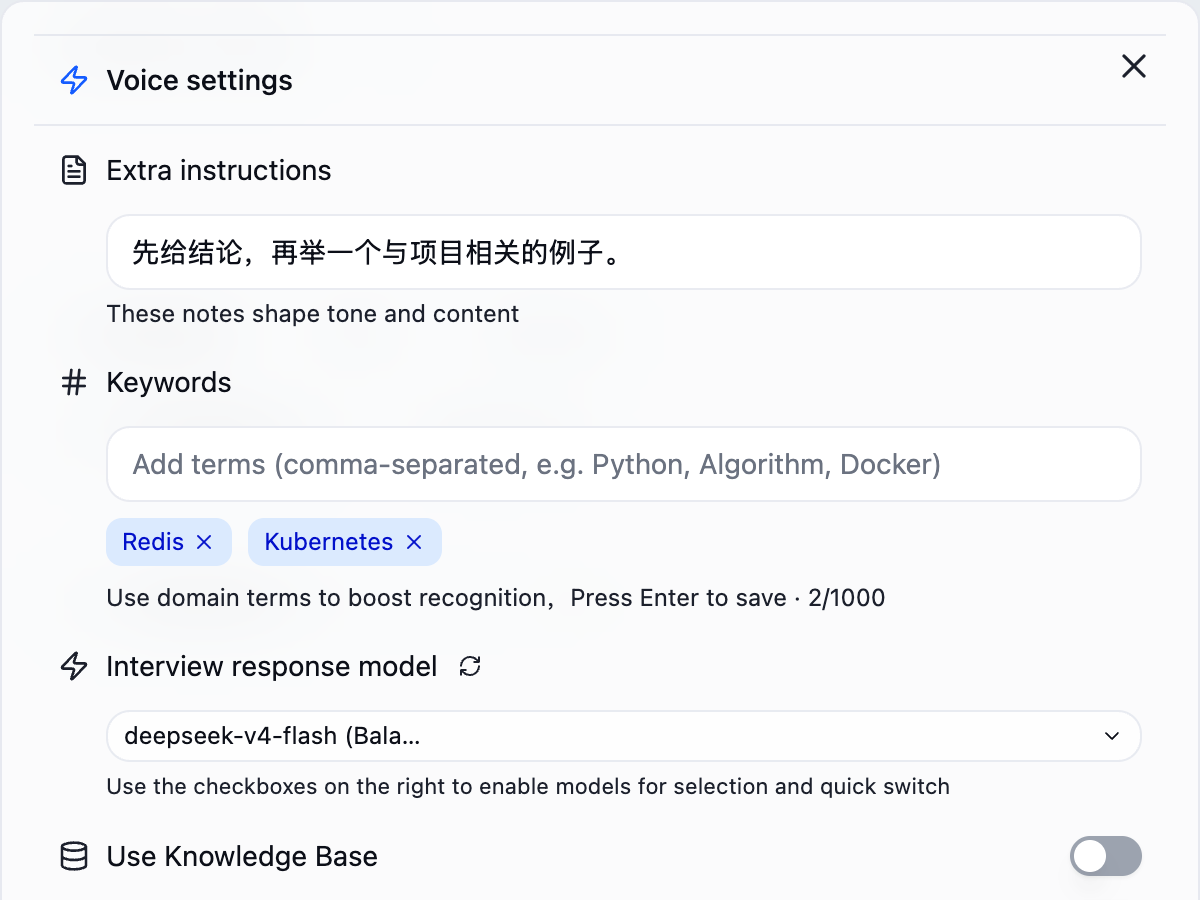
You can evaluate recognition accuracy and the requested answer style independently.
Hotwords are recognition hints, not guarantees. Change one option at a time when troubleshooting.
Transcribe, generate and page through answers
Voice mode recognizes interviewer questions in real time and generates answer suggestions.
INTERACTIVE WALKTHROUGH
Try it: voice questions and answers
Click the numbered markers to see what happens next in the client, or use the tutorial controls below.
Click the microphone to open the voice panel
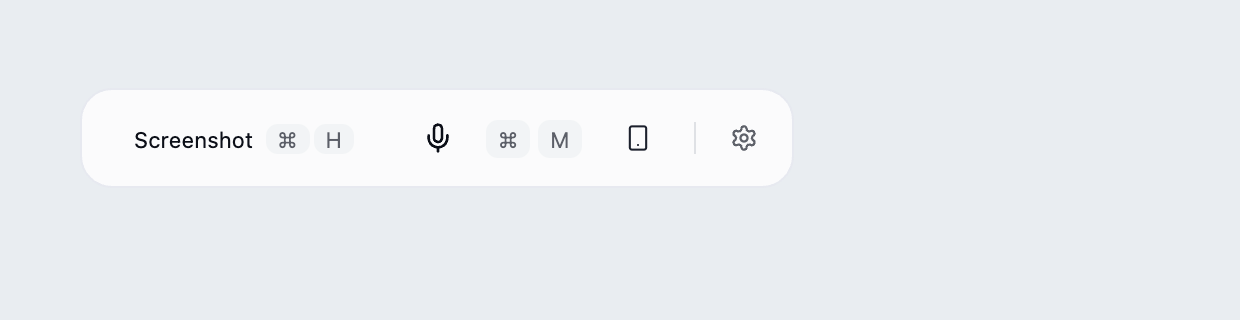
Open your meeting or practice audio. Complete the required microphone and screen-recording permissions, then click the microphone on the floating toolbar.
What you should see: A timer and stop control appear, and the voice panel opens below.
This demo uses a fixed conversation and does not record you. If the panel does not open, resolve any permission prompt first.
Default shortcutMac ⌘ + MWindows Ctrl + M
Show all illustrated steps
1. Click the microphone to open the voice panel
Open your meeting or practice audio. Complete the required microphone and screen-recording permissions, then click the microphone on the floating toolbar.
A timer and stop control appear, and the voice panel opens below.
This demo uses a fixed conversation and does not record you. If the panel does not open, resolve any permission prompt first.
2. Enable system audio to hear the other person
The microphone represents your voice; the speaker represents audio played by the computer. The example speaker is muted. Click it to enable system audio.
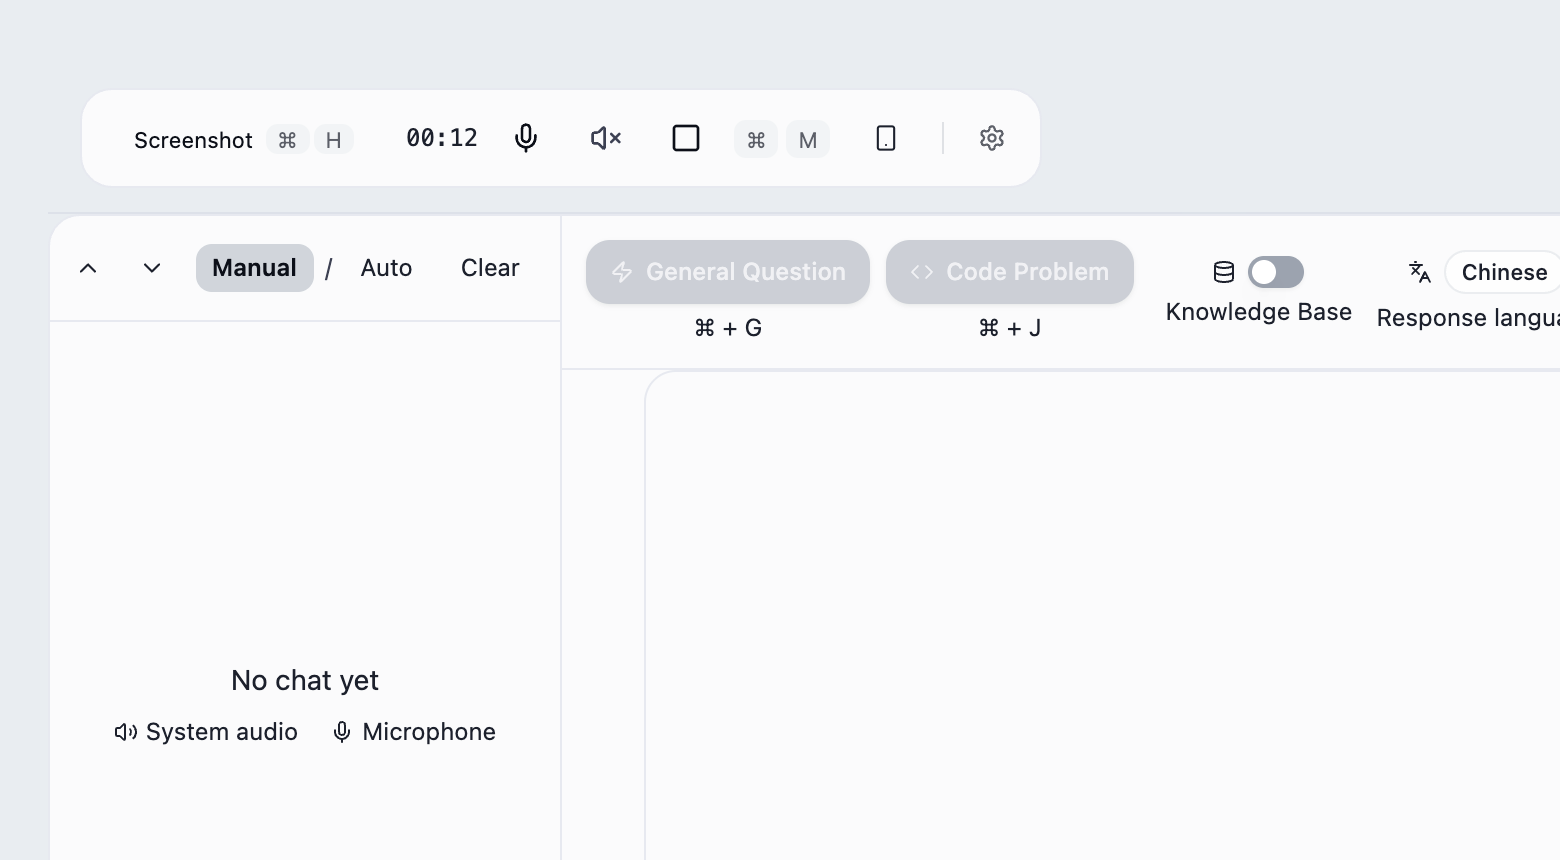
The mute mark disappears. Speech from the meeting or practice audio should appear as text on the left.
If system audio is already enabled, continue. If no text appears, check that audio is playing, then check the audio source and permissions.
3. Select Manual for your first practice run
Click Manual at the top left of the voice panel. This example starts with Auto selected.
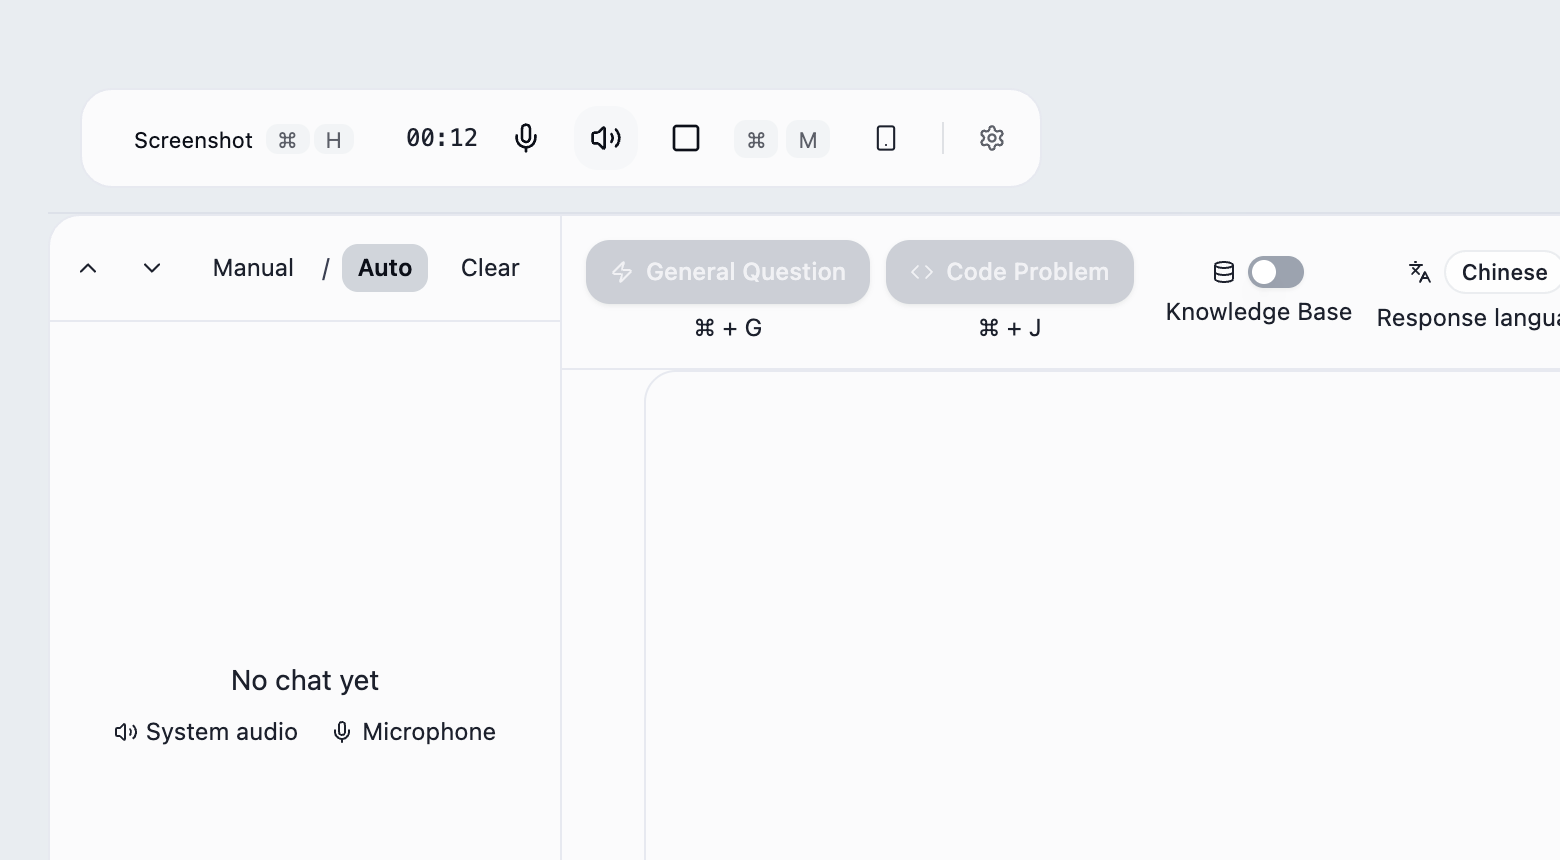
Manual becomes selected. Transcription continues, and you decide when to generate an answer.
Manual and Auto control answer generation. Auto reacts to new system-audio speech, not microphone input. Use Manual first to check each stage.
4. Once the question appears, click General Question
Check the transcript on the left. Once the question is present, click General Question at the top of the answer panel. Use Code Problem for a spoken coding question.
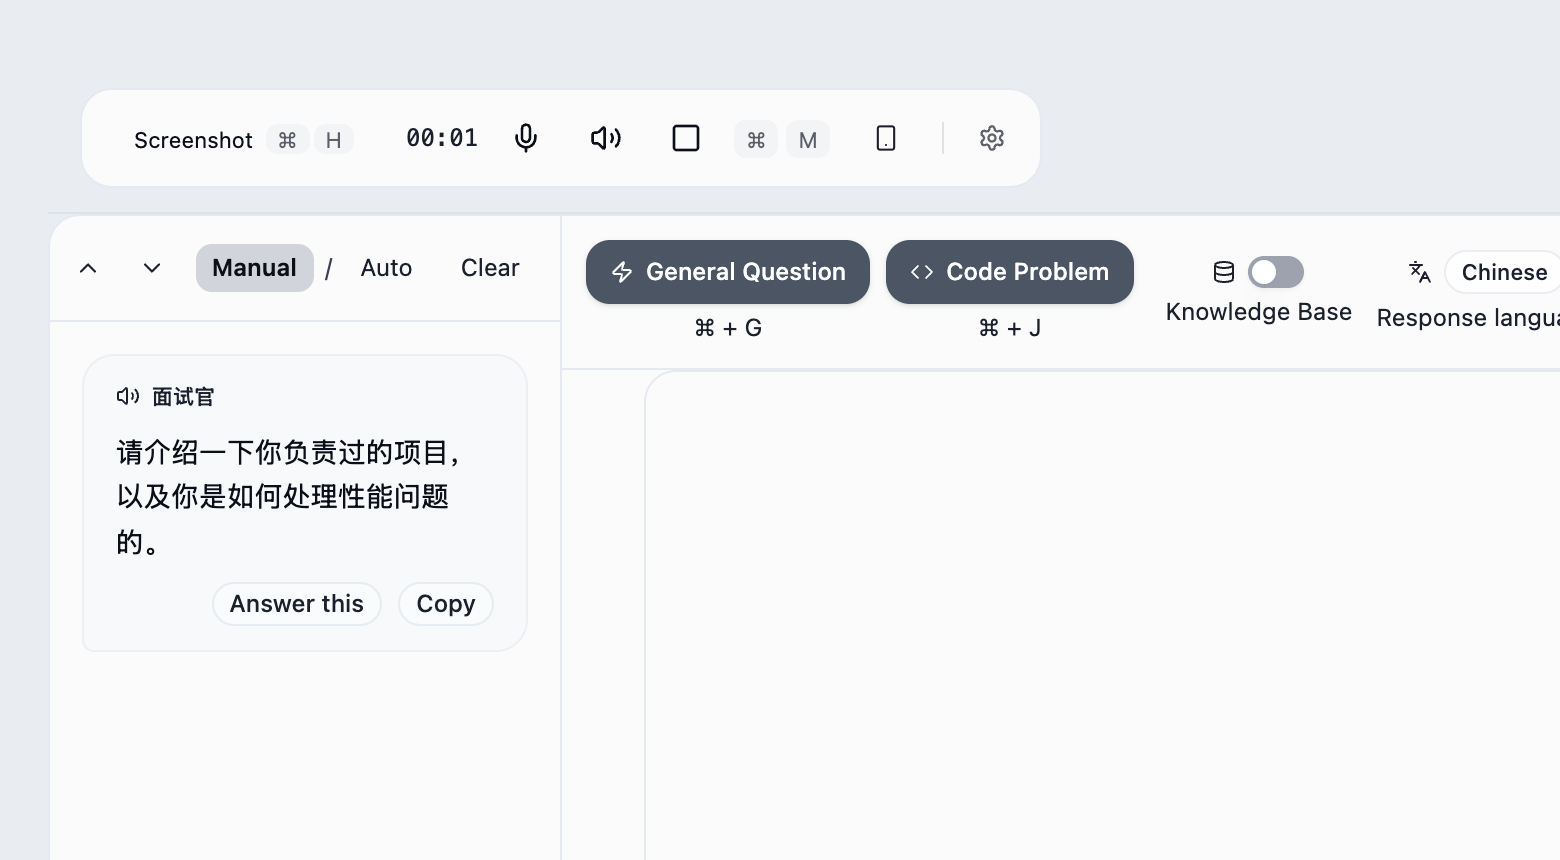
The answer panel starts generating a response.
A disabled button usually means no transcript is available yet. Selecting Manual alone does not generate an answer. The default coding-question shortcut is ⌘ / Ctrl + J.
5. Wait for the response
No further client action is needed. The question has been submitted; wait for the answer to arrive.
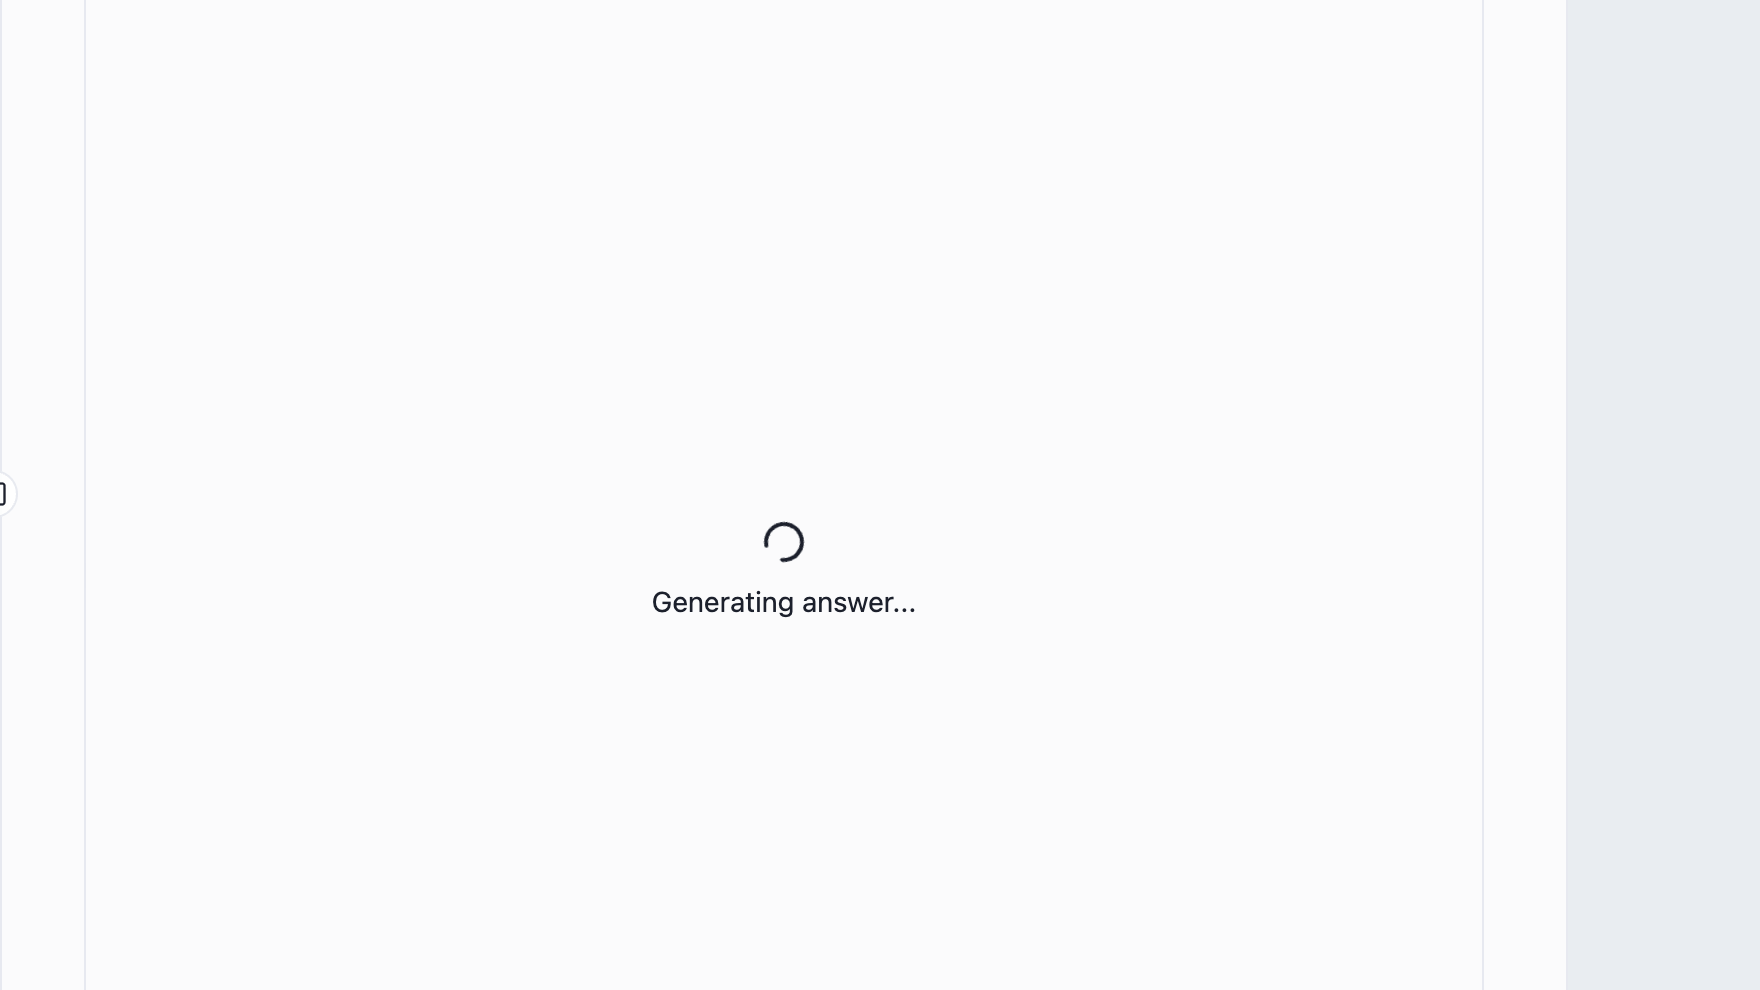
Text begins appearing in the answer panel.
Timing depends on the model and network. Avoid repeated triggers. This walkthrough uses a fixed practice response.
6. Click Next at the top right to read more
After reading the visible answer, click Next in the voice answer panel. Use Previous to return to earlier text.
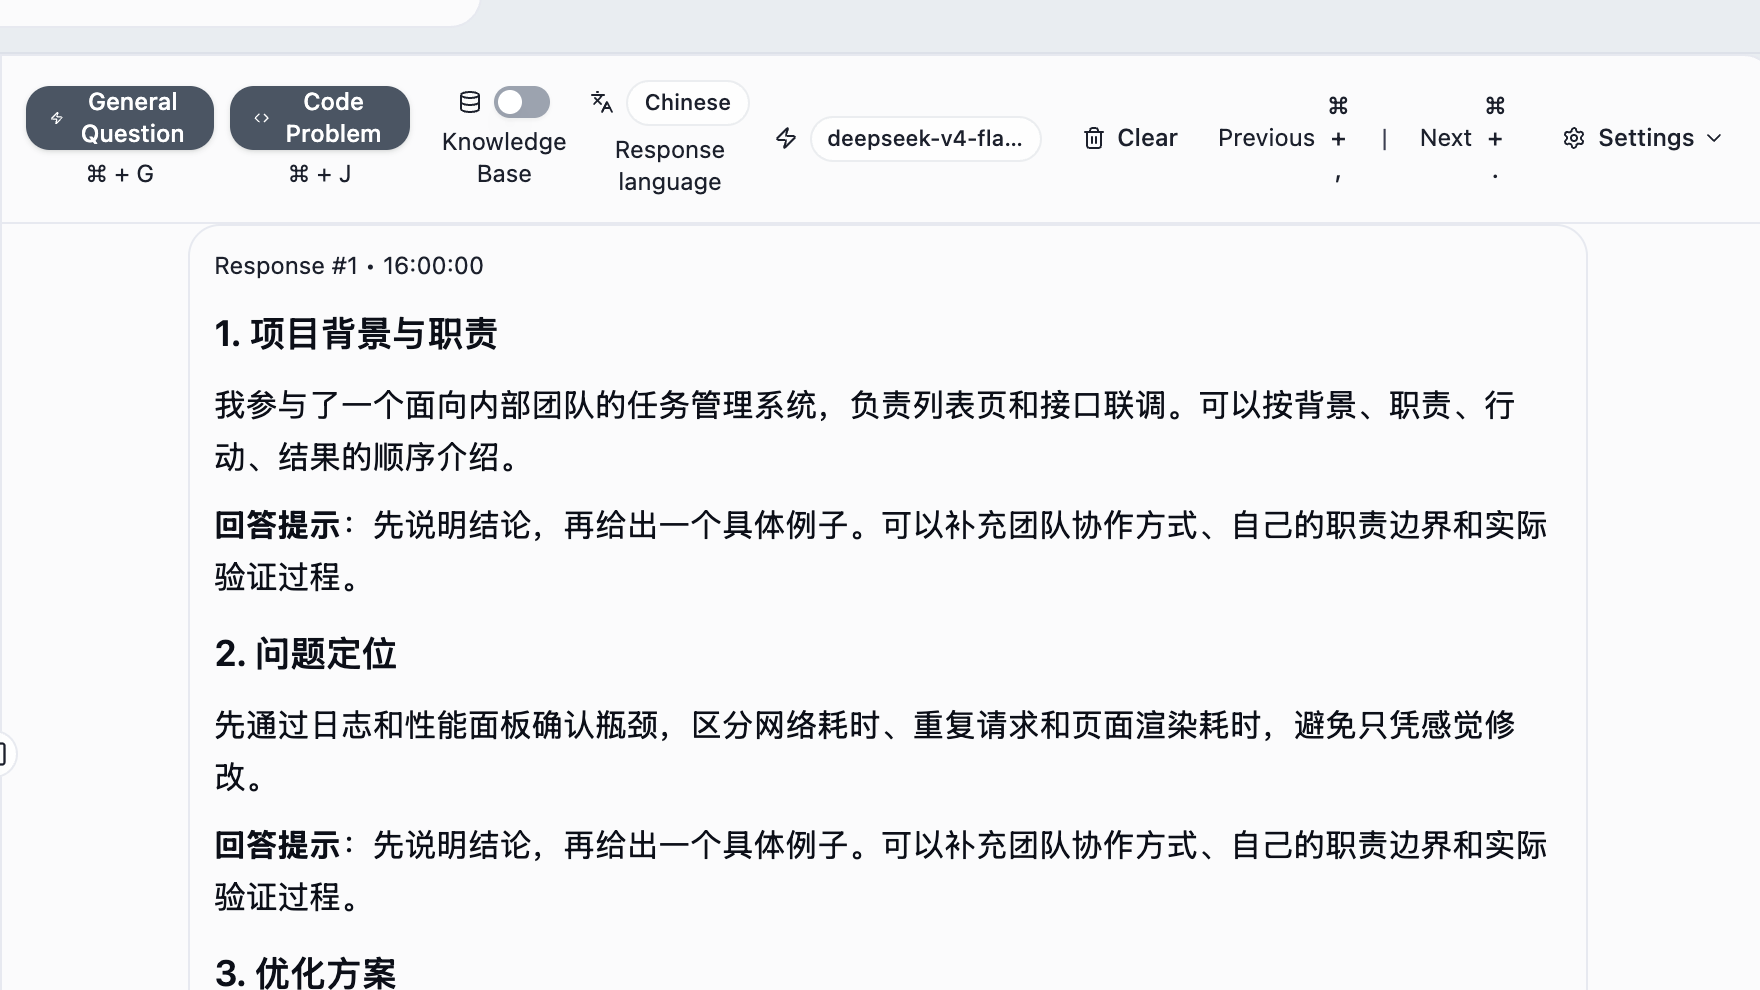
The answer display moves down to reveal more content. No new question is submitted.
To ask another question, wait for its transcript and click General Question again. Default paging shortcuts use comma and period.
7. Finish by clicking the square stop control
You can now see a later part of the response. Save anything you need, then click the square stop control on the toolbar.
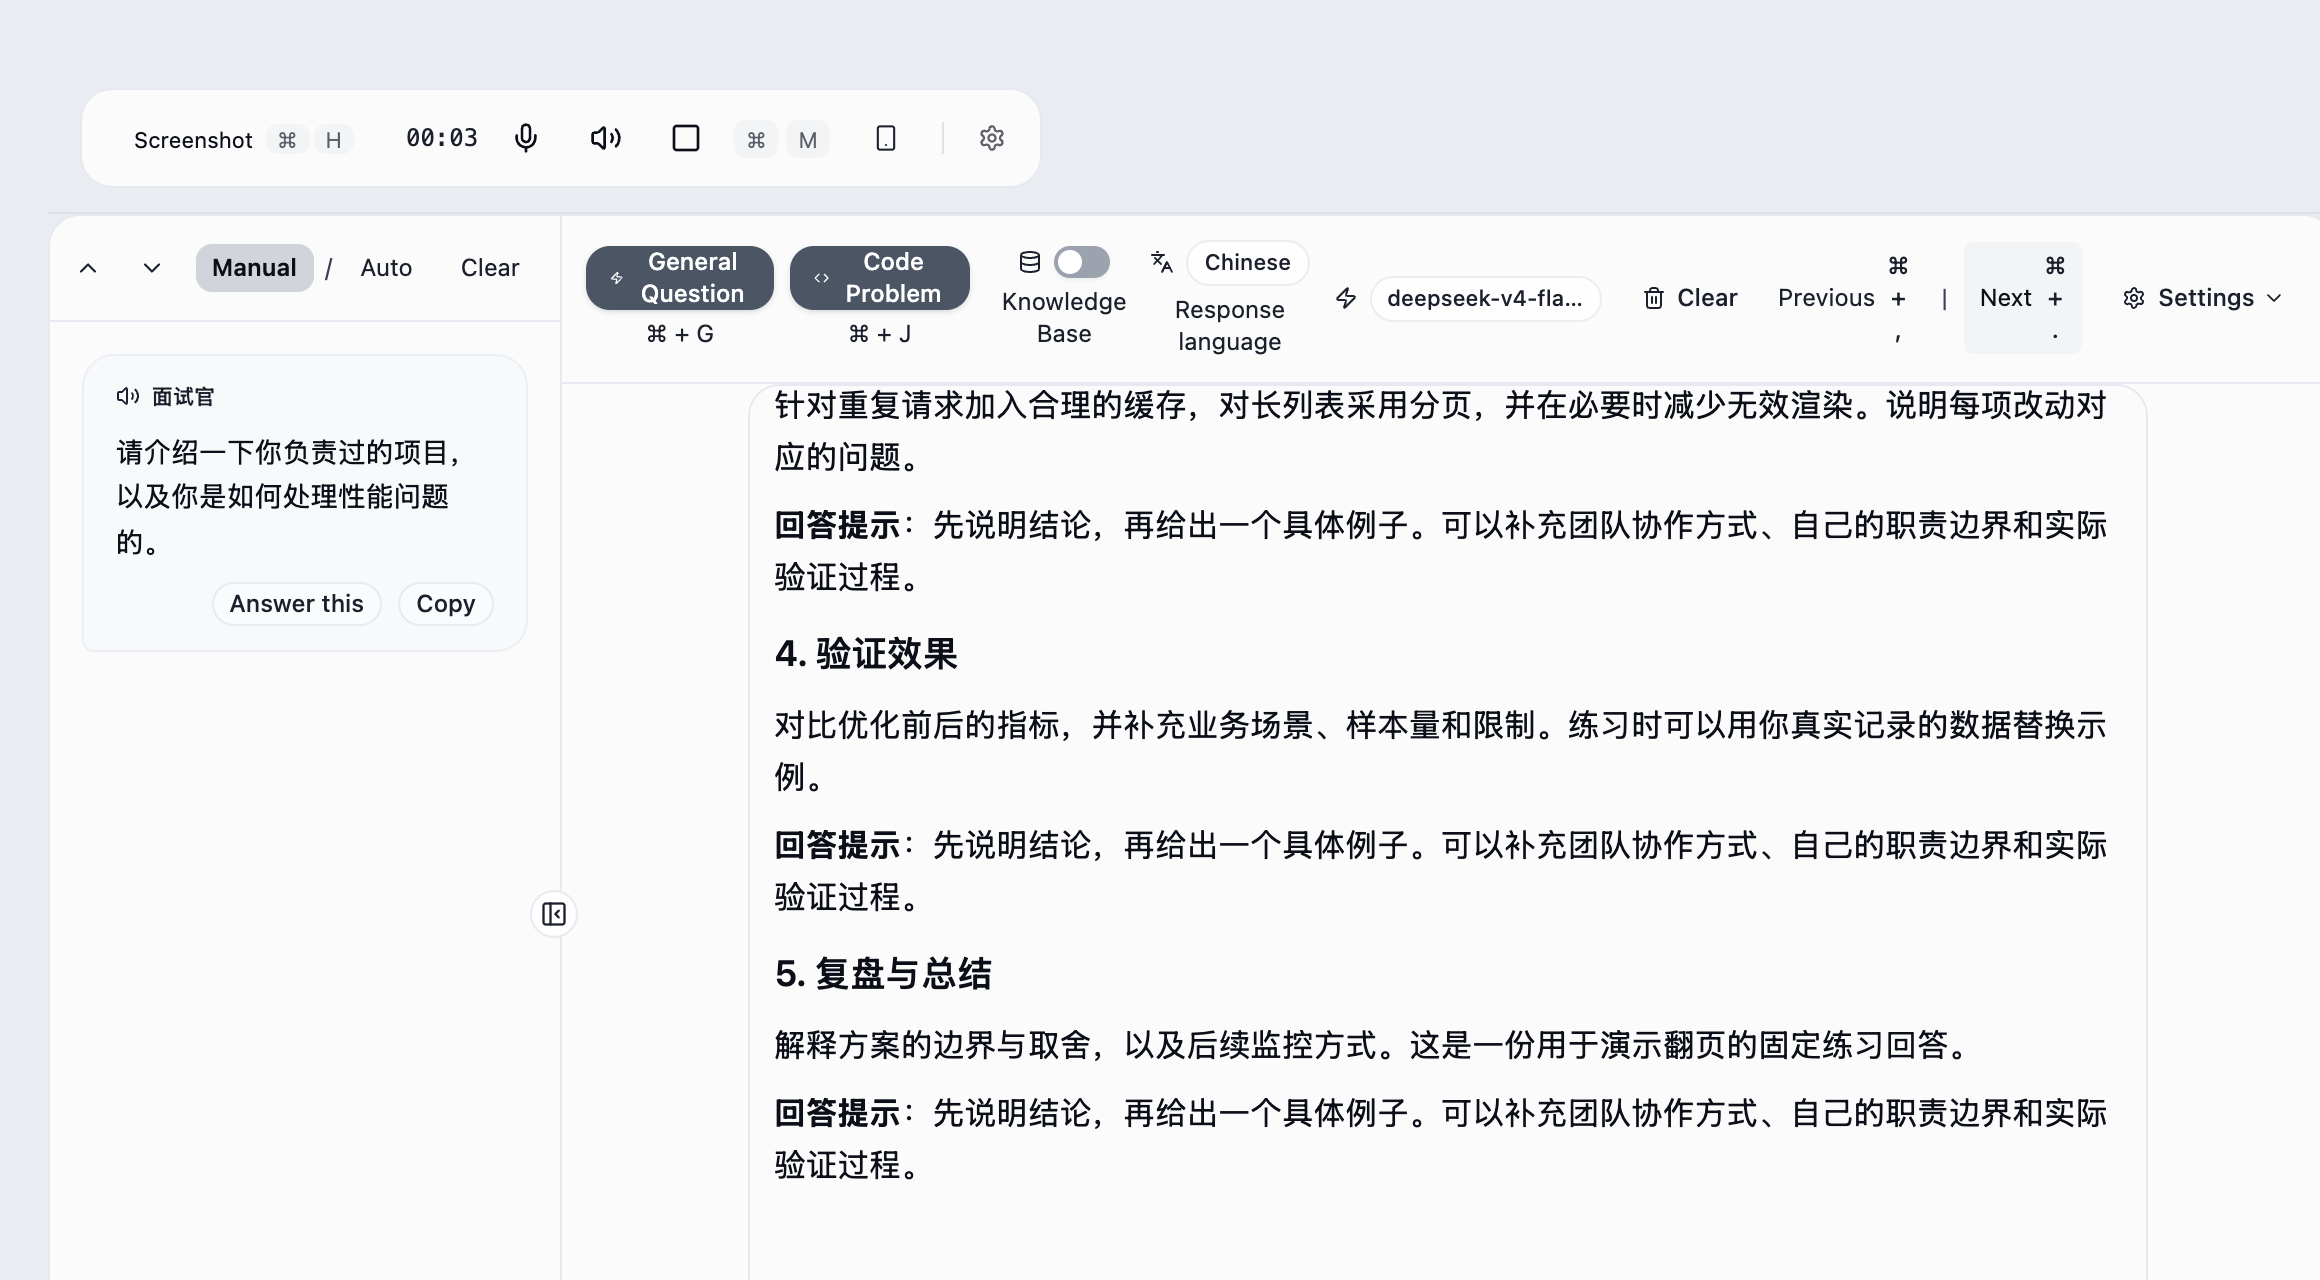
The timer stops, the voice panel closes and the microphone returns.
Stopping recording clears the currently displayed transcript and answers. Keep recording active while you still need to read them.
8. Your voice practice is complete
Check that the microphone has returned. Start it again for the next practice and check the audio source, transcript and trigger mode.
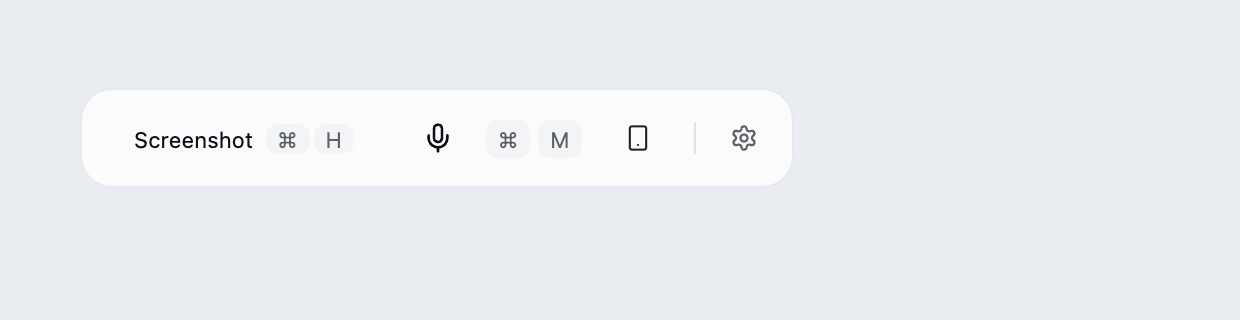
You have completed: record → check audio → trigger manually → read the response → stop.
Replay only restarts this website tutorial. Continue to Knowledge Base management to learn how to use personal material.
Automatic mode responds to new system-audio transcription, not microphone transcription. Read the trigger rules and verification steps.
Real-time translation
Real-time translation is available to Ultimate users. In voice settings, choose Off, Auto, Chinese to English, or English to Chinese. Translation is display-only: transcripts and AI answers keep their original text, and answer generation does not change.
To configure it: open Settings → Voice Settings → scroll to display translation → choose Off, Auto, Chinese to English or English to Chinese. If the options are unavailable, check Ultimate membership. Close the window and generate a new voice answer to inspect the display. Response Language is a separate setting.
See the Voice Settings screenshots.