Before practicing, learn the shortcuts and check basic settings.
Screenshot mode
- Full-screen screenshot: covers the entire screen.
- Partial screenshot: manually select an area for higher precision.
After taking a screenshot, generate solving ideas and answers. This is suitable for coding-test questions and live coding questions.
Practice a complete solution
INTERACTIVE WALKTHROUGH
Try it: from screenshot to solution
Click the numbered markers to see what happens next in the client, or use the tutorial controls below.
Open the question and click Screenshot
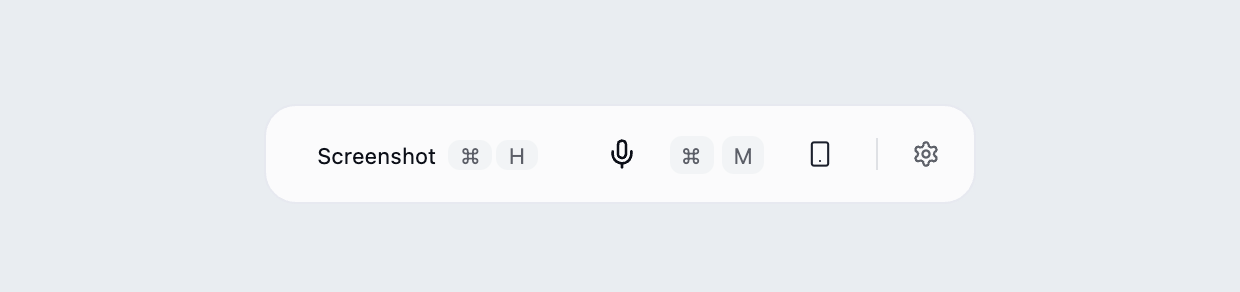
Show the question, input/output requirements and examples on screen. Click the highlighted Screenshot control. In partial screenshot mode, then select the question area.
What you should see: A thumbnail appears above the toolbar, together with the Solve control.
For a long question, scroll the question and take additional screenshots before solving.
Default shortcutMac ⌘ + HWindows Ctrl + H
Show all illustrated steps
1. Open the question and click Screenshot
Show the question, input/output requirements and examples on screen. Click the highlighted Screenshot control. In partial screenshot mode, then select the question area.
A thumbnail appears above the toolbar, together with the Solve control.
For a long question, scroll the question and take additional screenshots before solving.
2. Check your screenshots, then click Solve
Check the screenshot queue above the toolbar. Once the question and examples are captured, click the highlighted Solve control.
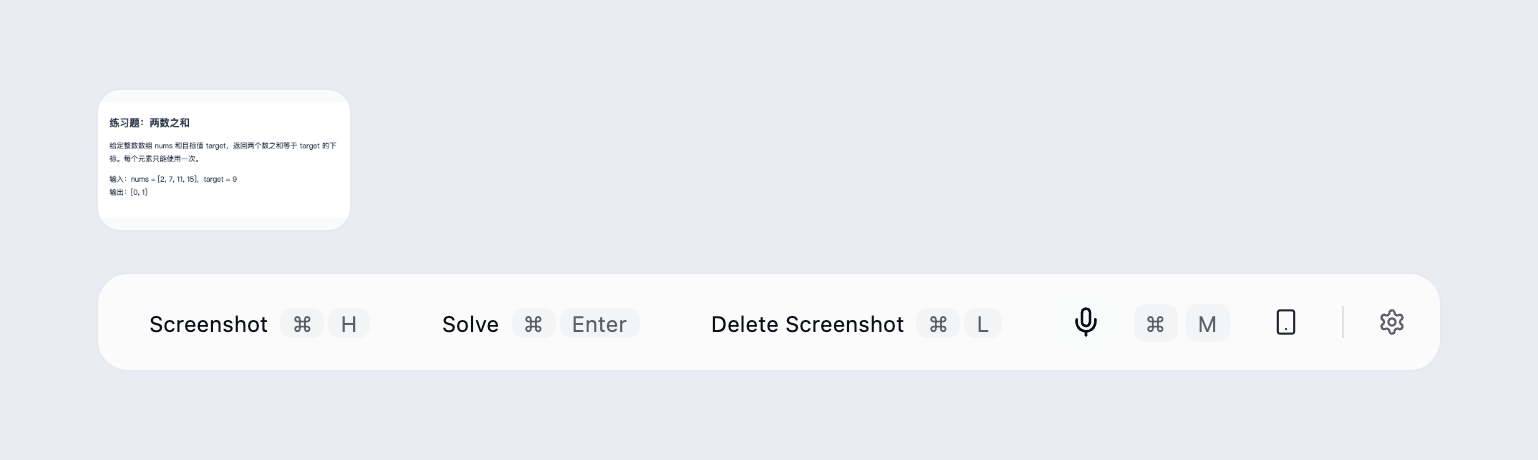
The answer panel opens and starts processing your screenshots.
Delete an incorrect screenshot and capture it again. If Solve is missing, first check that the screenshot queue contains an image.
3. Wait for the answer to appear
No further click is needed in the client. A processing message appears before the answer starts arriving.
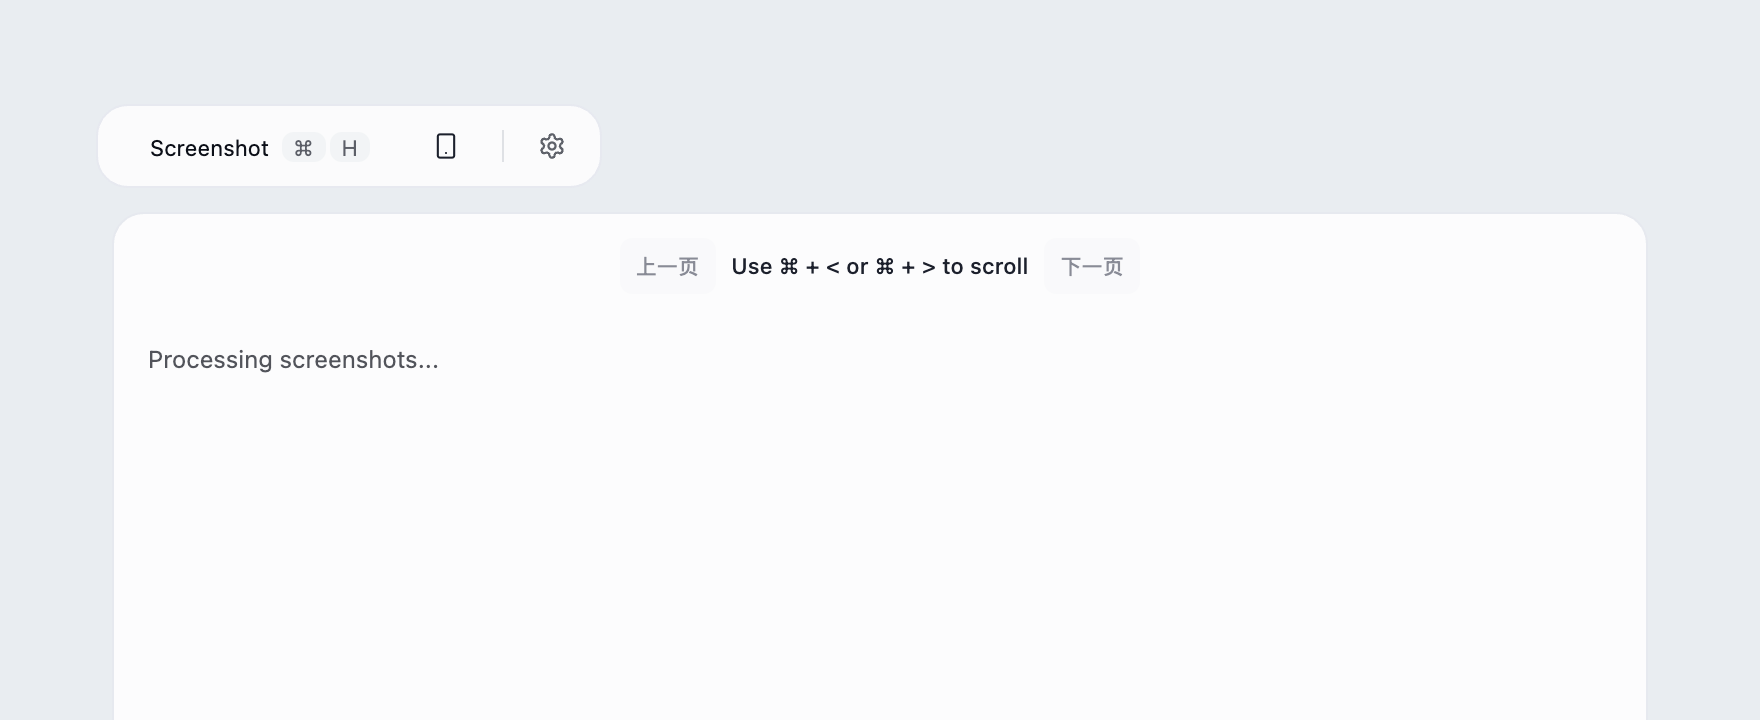
Question analysis, an approach or code appears in the answer panel.
Timing depends on the model and network. Avoid submitting repeatedly. This tutorial uses a fixed practice question and answer.
4. Click Next page inside the answer panel
Read the visible answer, then click Next page (下一页) at the top right of the answer panel, or scroll down inside it.
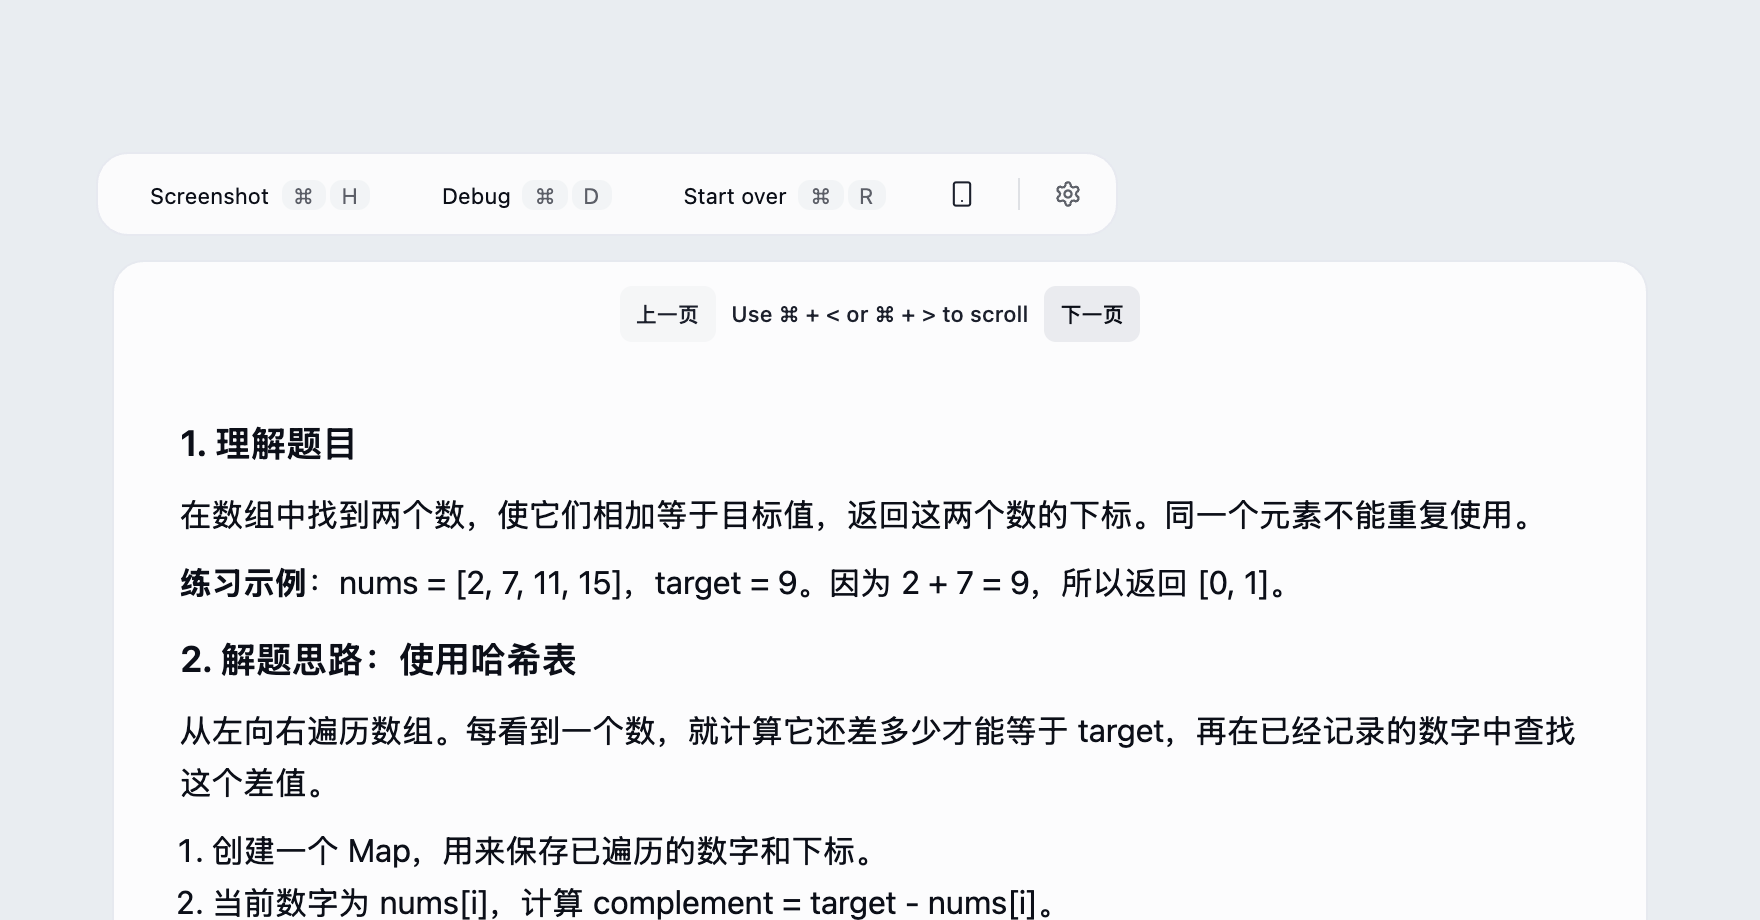
The same answer scrolls down to reveal more content. It does not generate a new answer.
Previous page (上一页) scrolls back up. The default shortcuts use comma and period without Shift; the interface displays these as < and >.
5. When finished, click Start Over in the toolbar
You are now reading a later part of the same answer. Once you have finished this question, click Start Over in the top toolbar.
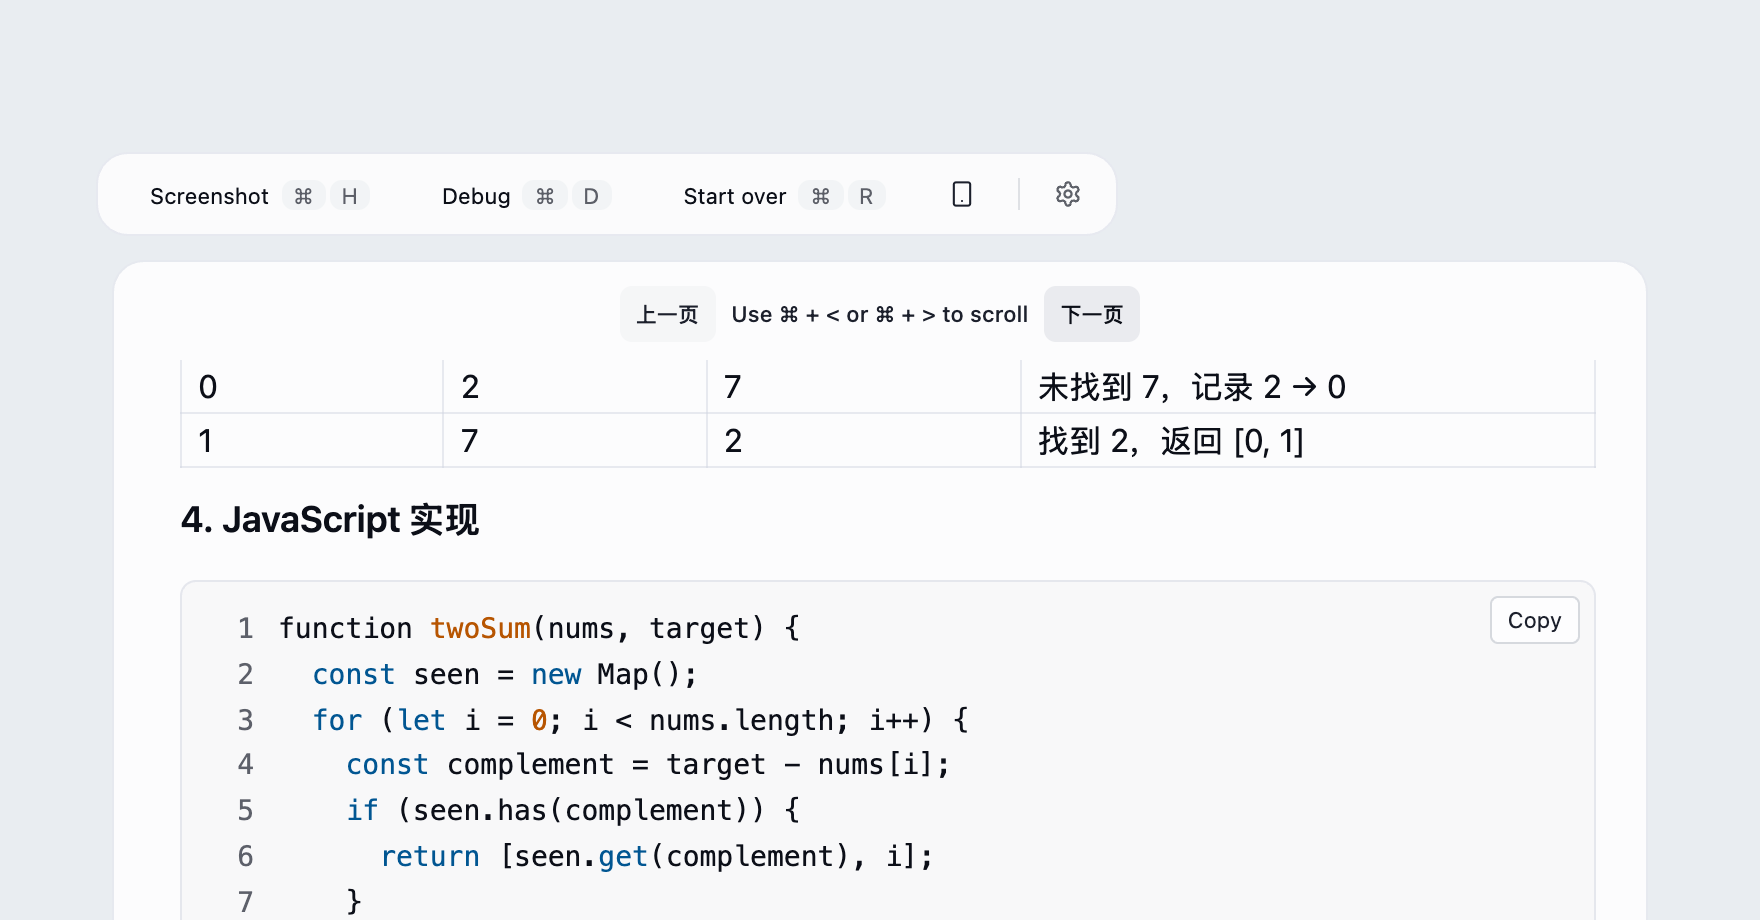
The answer and screenshot queue are cleared, ready to capture a new question.
To keep reading the current answer, use Next page instead. Save anything you need before starting over.
6. Back at the screenshot toolbar
Check that the previous answer and screenshots have cleared. Open your next question and start with Screenshot again.
You have completed: capture → solve → wait → read more → start over.
Replay below only restarts this website tutorial. Perform the corresponding actions in the desktop client when using the tool.